Around 2 years ago I moved to a new house., which is equipped with a significant basement, located under my garage. This basement has been retrofitted by the previous owner.
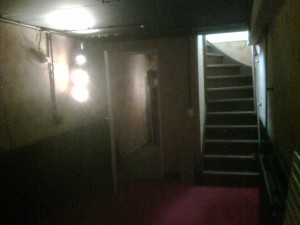
The space is devided into two areas, one being the large room, which is the live room and a smaller one, which is curently the control room. This space used to be a wine celler and has been fitted with floor tiles. Since this room has direct contact with the colder side of the house, I decided I needed to insulate this part of the basement, to prevent condensation of warm inside air against the cold outside wall. It was not intended as a vapour barrier.
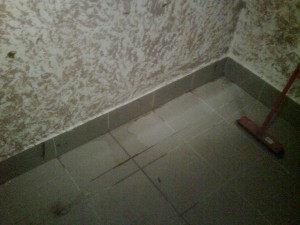
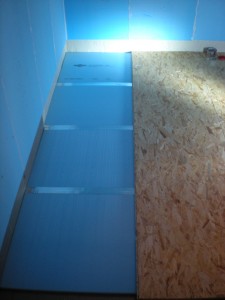
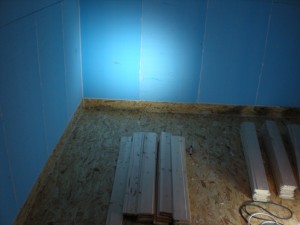
In this image you can see the tile floor and some moisture, residing from the condensed air. I decided to use 20 mm floor mate tiles from Dow. These are blue tiles which have a high insulation value. These blue tiles are mounted against the wall and on the floor.
The ones on the wall have been sealed with chaulk and the ones on the floor with heat-insulating tape. The floor has been coverd by plywood board.
I actually left the tiles in. It was senseless and useless to remove these. If I would have done this, I would also have damaged the basement floor. So, the tiles are still under the insulation.
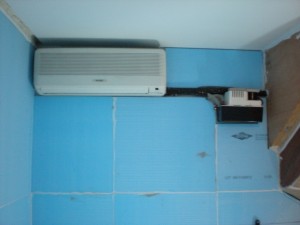
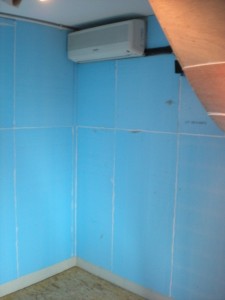
The walls were also covered with floor-mate tiles. I did need to work around the airconditioning unit. This unit is for cooling the control room.
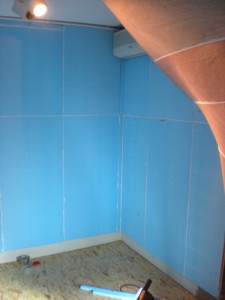
Also all the other walls needed to be insulated. Here are some pictures which illustrates the process. After completing the insulation I did not have any further issues with condensation of the air. More pictures are to be posted soon.
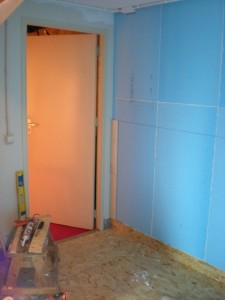
This picture above is taken facing the door between the control room and the live room.
Click on a picture to see a bigger one.
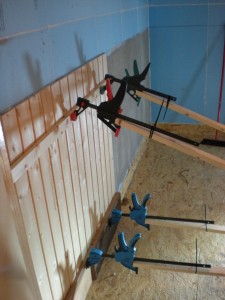
In this picture you can also see the underside of the stair case. I have also insulated the stair case with fiber glass wool covered with 3 mm plywood and, finally, deflection material, which I have also put on parts of the walls. After the insulation, I decided to glue wooden sides on the walls, so I would have a decorative split on the wall. That is shown by the picture below.
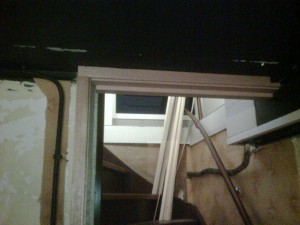
Now, After the control room was insulated, I had to take care of the opeing at the stairs. The stair well was fully open and there was no door in front of this. Therefore, the door frame had to be mounted first. This is displayed by the picture below.
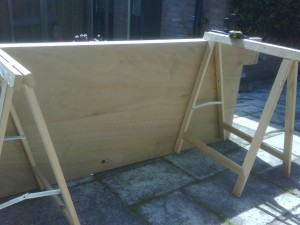
The door which needed to be mounted, needed to be very thick. The more mass you use, the better the insulation for sound and noise. Therefore, I custom built a door which is made out of multiplex and is 40 mm thick. Since the shape of the door frame is very weird, I had to make some nice corners in the door.


